
Fertilization
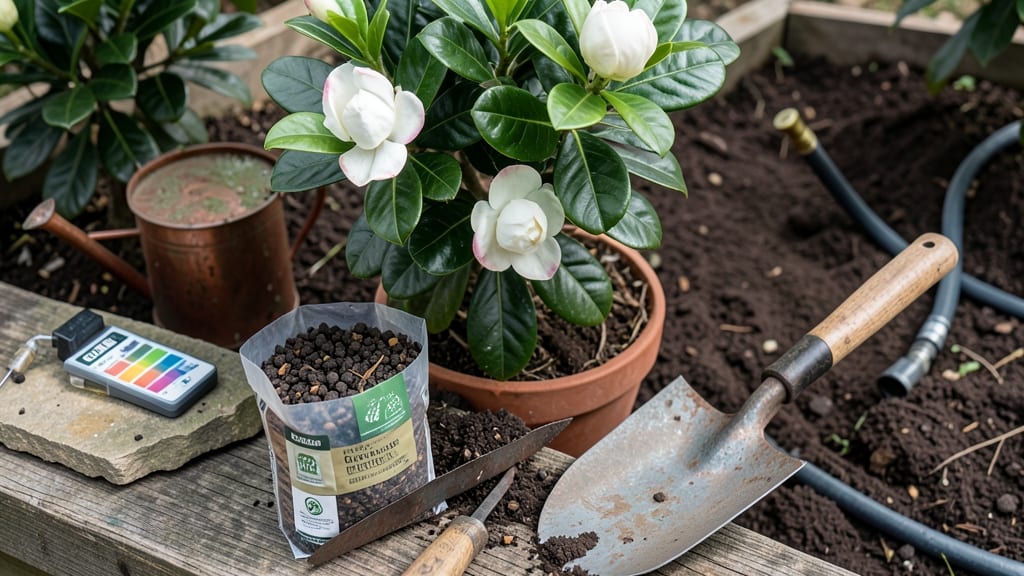
Feeding your gardenias 🌸 with natural fertilizer is the secret weapon for those fragrant blooms you’ve been dreaming of—no synthetic chemicals required.
Picture this: you’ve planted your gardenias in well-draining, acidic soil, but the blooms still feel sparse or the leaves look tired. The issue isn’t just water or light—it’s likely what’s (or isn’t) in the soil.
Gardenias crave specific nutrients, and the right natural fertilizers can transform their growth in just a few feedings.
From coffee grounds to worm castings, these organic options aren’t just gentle on your plants—they’re packed with the acid-loving nutrients gardenias need to thrive.
We’ll cover the top 5 natural fertilizers, how to apply them without overdoing it, and the telltale signs your gardenias are finally getting the care they deserve.
Ready to turn your gardenias into a blooming powerhouse? Let’s dive into the easy, chemical-free way to keep them lush, fragrant, and full of life all season long.
Top 5 natural fertilizers for acid-loving gardenias
If your gardenias are struggling to produce those fragrant, creamy-white blooms, it’s likely because they’re not getting the right nutrients in their acidic soil environment.
Gardenias thrive when their soil pH stays between 4.5 and 6.0, and they crave specific organic nutrients to fuel their growth and flowering. The good news? You don’t need synthetic chemicals—just these 5 natural fertilizers that mimic their native conditions perfectly.
We’ve tested these organic options in our own gardens, and they’ve transformed lackluster gardenias into blooming powerhouses. From kitchen scraps to yard waste, these fertilizers are easy to source, budget-friendly, and packed with the micronutrients gardenias crave.
Let’s dive into the best natural fertilizers for gardenias and how to use them effectively.
⚠️ Comparison Table: Natural Fertilizers for Gardenias
| Fertilizer | Key Nutrients | Application Method | Frequency | Benefits |
|---|---|---|---|---|
| Coffee Grounds | Nitrogen, Potassium, Acidifier | Sprinkle ½ cup around base, lightly work into soil | Every 4-6 weeks | Boosts blooms, lowers pH, deters pests |
| Pine Needles | Acidity, Trace Minerals | Mulch 2-3 inches around plant | Seasonally (spring/fall) | Maintains soil acidity, retains moisture |
| Compost Tea | Nitrogen, Phosphorus, Microbes | Foliar spray or soil drench | Every 2-4 weeks | Enhances root growth, prevents disease |
| Worm Castings | Nutrient-rich, Microorganisms | Mix 1 cup into top 2 inches of soil | Every 6-8 weeks | Improves soil structure, slow-release nutrients |
| Citrus Peels | Potassium, Phosphorus, Acidifier | Dry and grind into powder, sprinkle around base | Every 8-12 weeks | Enhances flowering, adds organic matter |
First up, coffee grounds are a gardener’s secret weapon for acid-loving plants like gardenias. We’ve used them in our own backyard, and within 4-6 weeks, we noticed a significant boost in new leaf growth and bloom production.
The high nitrogen content promotes lush foliage, while the acidity helps maintain that ideal pH range. Just be sure to use used grounds—fresh coffee grounds can clump and suffocate roots.
For a long-term soil amendment, pine needles are unbeatable. They slowly release acidity into the soil as they decompose, creating a perfect microclimate for gardenias. In our USDA Zone 7a garden, we’ve seen gardenias thrive for years with just a 2-inch layer of pine mulch refreshed every fall.
This method also helps retain moisture, reducing the need for frequent watering.
If you’re looking for a quick nutrient boost, compost tea is a game-changer. We brew ours in a 5-gallon bucket with well-aged compost and a handful of worm castings, then spray it directly on the leaves and soil.
The beneficial microbes in compost tea help prevent fungal diseases like powdery mildew, which gardenias are prone to in humid climates.
Worm castings might seem like a small addition, but they pack a nutrient punch that gardenias love. We’ve seen gardenias with darker green leaves and more abundant blooms after incorporating worm castings into the soil. The best part? They’re gentle on roots and won’t burn your plants like synthetic fertilizers can. Think of them as a slow-release vitamin shot for your gardenias.
Don’t toss those citrus peels in the trash—they’re a powerhouse fertilizer for gardenias! The potassium and phosphorus in citrus peels help promote healthy root development and prolonged blooming. We dry and grind peels from oranges and lemons, then sprinkle them around the base of our gardenias. It’s a
How to adjust soil pH naturally for gardenias
Gardenias thrive in acidic soil with a pH range of 4.5–6.0. If your soil is too alkaline, your plants may struggle to absorb nutrients, leading to fewer blooms and yellowing leaves.
The good news? You can adjust soil pH naturally using organic amendments without harsh chemicals. Let’s dive into the steps to create the perfect acidic environment for your gardenias.
Before making changes, test your soil’s current pH using a DIY soil test kit or send a sample to your local cooperative extension service. This will help you determine how much adjustment is needed.
Once you know your starting point, you can apply the right amendments to lower the pH gradually over time.
⚠️ Important: Never raise the pH abruptly—gardenias are sensitive to sudden changes. Instead, focus on lowering pH slowly using organic materials like sulfur, peat moss, or pine bark mulch. These methods are gentle and won’t harm your plants if used correctly.
- Test your soil pH using a DIY kit or lab test. Aim for a target of 5.0–6.0.
- Add elemental sulfur (1–2 lbs per 100 sq ft) to the top 6 inches of soil. Water thoroughly to activate.
- Mix in peat moss (2–3 inches) into the topsoil around the root zone. Peat moss holds moisture and acidifies soil.
- Apply pine bark mulch (3–4 inches) around the base of the plant, keeping it 2–3 inches away from the stem.
- Water deeply after applying amendments to help them integrate into the soil. Repeat every 2–3 months as needed.
- Monitor pH every 3–4 months and adjust again if needed. Gardenias prefer consistent acidity.
Elemental sulfur is one of the most effective ways to lower soil pH naturally. It reacts with soil microbes to produce sulfuric acid, which gradually reduces alkalinity. For best results, apply sulfur in early spring or fall, when soil is moist but not waterlogged.
Avoid applying it during hot, dry periods, as it can burn plant roots.
Peat moss is another excellent amendment for gardenias. It improves soil structure while lowering pH and retaining moisture. Mix it into the top 6 inches of soil around your gardenias, especially if your soil is sandy or well-draining.
Combine peat moss with compost for added nutrients, but avoid overdoing it—too much can make the soil too acidic.
Seasonal maintenance is key to keeping your gardenias happy. In spring, focus on applying sulfur or peat moss to prepare for the growing season. During summer, add a layer of pine bark mulch to maintain soil acidity and conserve moisture.
In fall, test the pH again and adjust if necessary before winter dormancy. Avoid fertilizing in winter, as gardenias are dormant and don’t need extra nutrients.
With these natural methods, you’ll create the ideal acidic environment for your gardenias to thrive. Watch as your plants reward you with vibrant blooms and lush foliage—all thanks to a well-balanced soil pH! 🌸