Tools
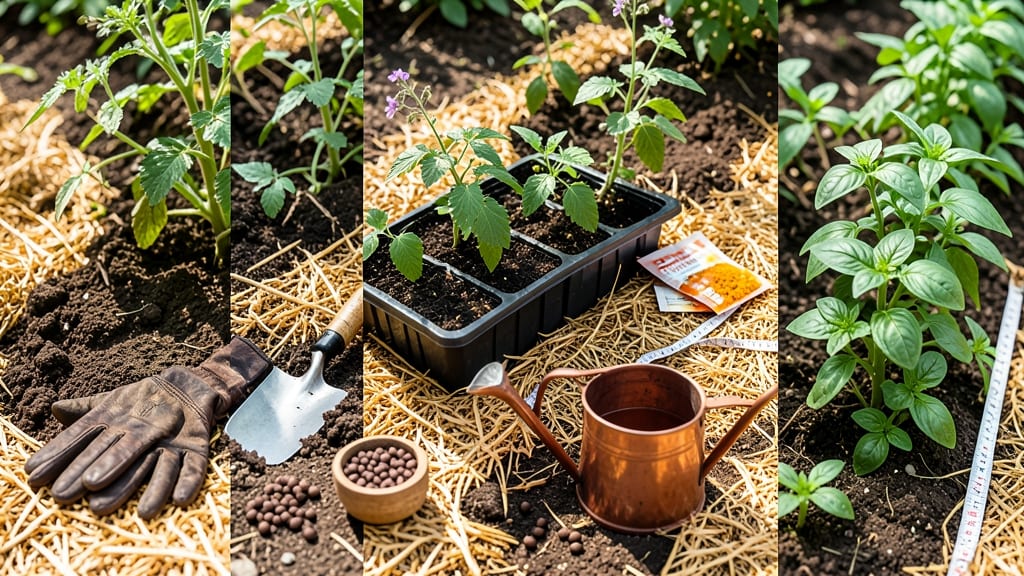
Taking the right steps for gardening can turn a blank patch of dirt into a lush, productive space in just a few months.
There’s nothing more satisfying than watching seeds sprout into healthy plants, but without a clear plan, even the simplest garden can become a source of frustration.
Whether you're working with indoor herbs or an outdoor vegetable patch, knowing when to plant, how to prep the soil, and when to step in with fertilizers or water makes all the difference.
This guide breaks down the five essential gardening steps that work for almost any plant, from soil prep to seasonal care. No green thumb required—just a willingness to follow a proven process that adapts to your space and climate.
You’ll learn how to time your planting window, avoid common mistakes, and keep your garden thriving year-round with minimal effort. Let’s get growing!
5 Core gardening steps every beginner must follow for consistent growth
Gardening success starts with a clear roadmap—one that balances soil health, plant timing, and ongoing care. Whether you're growing vegetables, flowers, or herbs, these foundational steps create the conditions for lush growth year after year.
The key? Consistency in each phase, from preparation to harvest. I’ve broken it down into a simple workflow that works for any climate or garden type.
Most beginners skip the soil prep phase, assuming their dirt is "good enough." But healthy soil is the difference between wilted seedlings and thriving plants. Think of it as the foundation of your garden—just like a house needs a strong base.
I’ll show you how to test, amend, and maintain it without breaking the bank. Ready to dig in?
Your Gardening Workflow
Test pH, add compost, and loosen soil 4-6 weeks before planting.
Follow last frost dates and plant seeds/transplants at optimal times.
Use drip irrigation or soaker hoses for consistent moisture.
Monitor plants weekly and use organic sprays at first sign of issues.
Adjust care as seasons change—mulch in fall, prune in spring.
Let’s start with the most critical step: soil preparation. Healthy soil isn’t just dirt—it’s a living ecosystem teeming with microbes, nutrients, and organic matter. I recommend testing your soil’s pH level first (aim for 6.0–7.0 for most plants).
If it’s too acidic or alkaline, amend it with lime (to raise pH) or sulfur (to lower it). Mix in 2–3 inches of compost or well-rotted manure to improve drainage and fertility.
Next, focus on your planting schedule. Timing is everything—plant too early, and frost will kill tender seedlings; too late, and your harvest suffers. Check your last frost date (typically late April in Zone 6a) and plan accordingly.
For example, cool-season crops like lettuce and peas thrive when soil temps hit 40°F, while warm-season plants like tomatoes need soil at 60°F+ before transplanting.
Watering might seem simple, but most beginners either drown or dehydrate their plants. I swear by a drip irrigation system—it delivers water directly to roots, reducing waste and disease risk. Water deeply once or twice weekly (depending on heat) rather than shallow daily sessions.
Early morning is ideal to prevent fungal growth. Pro tip: Use a moisture meter to check soil moisture before watering.
Pests and diseases can derail even the best-laid plans. Start with preventative measures: healthy soil, proper spacing, and regular inspections. For common issues, I keep neem oil and insecticidal soap on hand.
Caught early, most problems (like aphids or powdery mildew) are easy to treat. Avoid chemical sprays—they harm beneficial insects and disrupt your garden’s balance.
Finally, seasonal transitions keep your garden thriving year-round. In fall, add a 3-inch mulch layer to insulate roots and retain moisture. Prune perennials after their first frost but before new growth starts.
Winterize containers by storing them in a garage or wrapping them in bubble wrap. Spring is for cleaning up debris, testing soil again, and prepping beds for new plantings.
Consistency is the secret sauce. Stick to this workflow, and you’ll see healthier plants, fewer pests, and bigger harvests—no matter your experience level. Start with one step this week, and build from there. Your future self (and your plants) will thank you!
How to choose the right gardening tools and materials by plant type
Not all gardening tools are created equal—and neither are your plants! The right tools and materials can make the difference between thriving tomatoes and wilted herbs. For example, a pruning shears won’t help you harvest carrots, but a hand trowel is useless for trimming roses.
Let’s break down what you truly need for each plant type, plus when to skip the extras.
Start by matching your tools to your plant category. Vegetables like lettuce and radishes need quick, shallow tools, while perennials like lavender benefit from long-handled tools for deep weeding. Herbs like basil thrive with precision tools, and flowers often require gentle handling to avoid damaging stems.
Your materials should also align—raised beds vs. in-ground planting changes everything.
Here’s a quick comparison to help you decide:
| Plant Type | Essential Tools | Skip These | Best Materials |
|---|---|---|---|
| Vegetables | Hand trowel, pruners, hoe, watering can | Heavy-duty spade (unless tilling) | Compost, mulch, drip irrigation |
| Flowers | Pruning shears, long-handled weeder, gloves | Sharp shovel (can damage roots) | Well-draining soil, organic fertilizer |
| Herbs | Small scissors, micro-spray bottle, small pots | Broadfork (overkill for small spaces) | Potting mix, containers with drainage |
| Perennials | Long-handled tools, loppers, drip lines | Hand weeder (too small for deep roots) | Mulch, compost, raised beds (optional) |
For raised beds, prioritize lightweight tools like a garden fork and compost scoop. In-ground gardens demand heavier tools like a broadfork or matlock weeder. My rule? If you’re bending over constantly, it’s time to invest in ergonomic tools—your back will thank you!
Don’t forget materials like mulch or soil amendments. Raised beds dry out faster, so add coco coir to retain moisture. In-ground gardens benefit from composted manure for nutrients. Test your soil first—knowing your pH levels saves money on trial-and-error fertilizers.
Pro tip: Start with the basics. A 5-gallon bucket for mixing soil, a $10 hand trowel, and a watering can cover 80% of gardening tasks. Upgrade as you specialize—like adding a greenhouse fan for heat-loving plants. Happy digging!