
How To
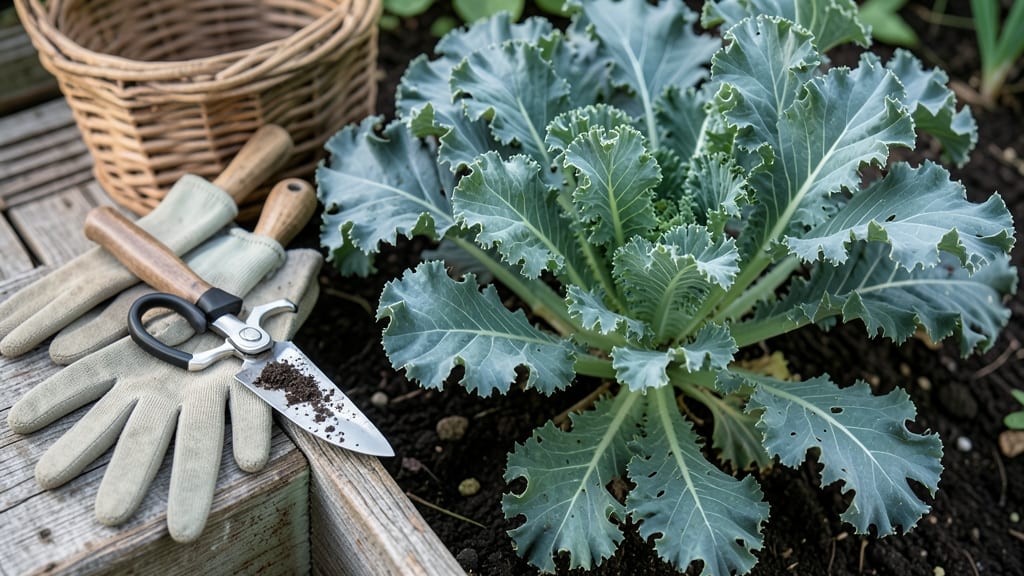
To pick kale from your garden at the perfect time means crisp, flavorful leaves that keep producing all season—if you know what to look for.
Ever snipped a leaf just to find it bitter or tough? That’s a classic sign you missed the ideal harvest window. The key is testing leaf flexibility, stem firmness, and color intensity before you cut.
Kale 🥬 thrives in USDA Zone 6a when planted in spring or fall, but even the hardiest varieties need the right timing. Harvesting too early means small, underdeveloped leaves, while waiting too long turns them woody.
Below, I’ll walk you through 5 simple toughness tests—plus when to harvest young leaves for baby greens and how to cut without damaging the plant. Ready to master the perfect harvest?


5 Toughness tests to determine when kale is ready for harvest
Harvesting kale at the perfect moment transforms your garden into a nutrient powerhouse. The key lies in tactile tests that reveal maturity beyond just leaf size. Over-picking too early results in bitter, tough leaves, while waiting too long leads to woody stems.
These 5 simple tests help you time your harvest for peak flavor and texture every time.
Start by examining the leaf edges—they should be fully curled and crisp to the touch. Young leaves may still feel soft and pliable, while mature leaves develop a slight resistance without being hard.
This balance indicates optimal harvest readiness. I’ve found that morning harvests after dew has dried yield the best results for these tests.
🌱
- 1 Leaf Flex Test: Gently bend a leaf—if it snaps back without breaking, it’s ready. Overly floppy leaves need more time.
- 2 Stem Firmness: Press the stem base—it should feel slightly springy but not woody. Tough stems mean the plant is over-mature.
- 3 Color Intensity: Look for deep, vibrant hues—dark green, purple, or red tones depending on variety. Pale leaves lack flavor development.
- 4 Size Maturity: Measure leaf length—6-12 inches is ideal. Smaller leaves are underdeveloped, while larger ones may be fibrous.
- 5 Taste Test: Sample a small leaf—it should be mildly sweet with a crisp bite. Bitter or tough texture means it’s past prime.
For curly kale varieties, focus on the outer leaves first—they mature faster than inner ones. I always start with the lowest, largest leaves to encourage continuous regrowth from the center. This method keeps your plants productive for months, even through light frosts.
Seasonal timing matters too. In spring harvests, kale grows quickly with longer daylight, so monitor leaves weekly. During fall harvests, cooler weather slows growth, so leaves may take 2-3 weeks longer to reach maturity. Adjust your harvest frequency accordingly to avoid over-picking.
Pro tip: Use a sharp pair of pruning shears to cut leaves 1-2 inches above the stem. This prevents damage to the growth point and keeps the plant healthy for future harvests. Avoid tearing leaves—this invites pests and diseases into the plant.
If your kale passes all 5 tests but you’re not ready to harvest, store it properly in the fridge for up to 5 days. Place leaves in a paper towel-lined bag with a plastic wrap top to retain moisture without trapping humidity.
This extends freshness until you’re ready to cook or store long-term.
🌿
Best practices for harvesting kale without damaging the plant
Harvesting kale correctly is key to enjoying a continuous supply of fresh, flavorful leaves. When done properly, your kale plant will keep producing new growth for weeks. The secret lies in selective harvesting—always picking outer leaves while leaving the inner ones intact.
This method preserves the plant’s energy and encourages regrowth, giving you a steady harvest throughout the growing season.
Timing your harvests right is equally important. Kale is most tender and flavorful when harvested in cool weather, typically in early morning after dew has dried. Avoid harvesting during heatwaves or after heavy rain, as this can stress the plant and lead to bitterness or damage.
Seasonal considerations also play a role—spring and fall harvests yield the sweetest, most nutritious leaves, while summer heat can make kale tough and bitter.
How to Pick Kale From Garden
-
Step 1: Choose the Right Leaves
Select outer leaves that are fully mature (6-12 inches long) and avoid cutting into the center stem. Use your thumb and forefinger to gently pinch the stem just above a leaf node. -
Step 2: Use Clean, Sharp Tools
Grab a pair of pruning shears or a sharp knife to make a clean cut. Avoid tearing leaves, as this can damage the plant and invite pests. Sterilize your tools with rubbing alcohol before use. -
Step 3: Harvest Selectively
Never remove more than 1/3 of the plant at once. Focus on the largest, most mature leaves first. This practice ensures the plant has enough energy to regrow and continue producing. -
Step 4: Maintain Frequency
Harvest every 2-3 weeks during peak growing season (spring/fall). In cooler climates, you can extend harvests into winter by protecting plants with row covers or mulch. -
Step 5: Post-Harvest Care
After harvesting, water the plant deeply to replenish moisture. Remove any yellow or damaged leaves to encourage new growth. Apply a light balanced fertilizer (5-10-10) if leaves show signs of nutrient deficiency.
One common mistake gardeners make is harvesting too aggressively, which can weaken the plant and reduce future yields. Always prioritize leaving the inner leaves and the central growing point intact. This ensures your kale plant remains healthy and continues producing for months.
If you notice leaves becoming tough or bitter, it’s a sign the plant is stressed—adjust your harvesting frequency or check for pests.
Seasonal adjustments are crucial for maintaining plant health. In spring and fall, when temperatures are mild, you can harvest more frequently. During summer heat, reduce harvesting to every 4-6 weeks to avoid stressing the plant.
In winter, protect your kale with mulch or frost blankets to extend the harvest season and prevent damage from freezing temperatures.
To maximize your harvest, consider succession planting. Sow new kale seeds every 2-3 weeks throughout the growing season. This staggered approach ensures a continuous supply of fresh kale while giving your plants adequate space to thrive.
With the right techniques, your kale patch can keep producing well into late fall or even winter, depending on your climate.
Remember, the goal is to balance harvest and regrowth. By following these best practices, you’ll enjoy a bountiful kale harvest without compromising the plant’s health. Happy harvesting! 🥬✂️