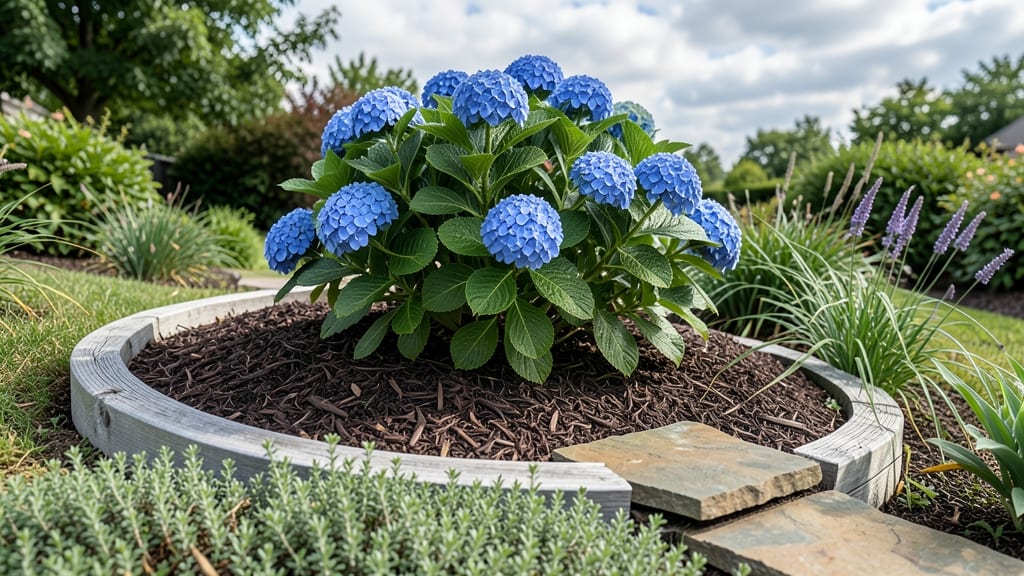
Transforming your garden with mound garden bed ideas is one of the quickest ways to boost plant health and cut down on weeding.
Picture this: a sloped, soil-rich mound where water drains effortlessly, roots stay aerated, and even heavy clay soil becomes a thriving ecosystem. No more soggy roots or wasted water—just happier plants and a garden that works with nature, not against it.
Whether you're dealing with poor drainage, limited space, or just want a low-maintenance design, mound beds deliver. They’re perfect for everything from drought-resistant succulents to lush vegetables, and they even make gardening easier on your back by raising plants to a comfortable height.
In this guide, I’ll walk you through 10 creative designs, step-by-step building tips, and the best plants to pair with your mound—so you can create a garden that’s as beautiful as it is functional.
10 Creative mound garden bed designs for any landscape
Transforming your garden into a stunning, functional space doesn’t require flat beds or expensive materials. Mound garden beds solve drainage issues while adding height and visual interest. Whether you have a small urban patio or a large backyard, these designs adapt effortlessly.
The key lies in their versatile shapes and customizable materials, from native soil to decorative stones.
I’ve tested these designs in my own garden, and they’ve revolutionized how I grow drought-resistant plants and vegetables in areas with poor soil. The best part?
Most require minimal tools—a shovel, wheelbarrow, and compost—and can be built over a weekend. Let’s explore 10 unique mound designs that blend beauty with practicality.
Why choose mound beds? They improve airflow and drainage, reduce weeds, and create accessible growing spaces for gardeners with mobility challenges. Plus, the elevated design adds a dramatic visual element to any landscape, whether you prefer modern minimalism or cottage charm.
| Design Name |
Shape |
Best For |
Materials |
Height |
| Spiral Mound |
Circular with ascending tiers |
Small yards, fairy gardens |
Soil, compost, pebbles |
12-18 inches |
| Crescent Moon |
Semi-circular with flat back |
Curved garden edges |
Soil, mulch, river rocks |
18-24 inches |
| Tiered Steps |
Rectangular with ascending levels |
Large gardens, seating integration |
Soil, bricks, cedar mulch |
24-36 inches |
| Keyhole |
Circular with central gap |
Space-saving, perennial gardens |
Soil, compost, straw |
12-15 inches |
| Wave Pattern |
Undulating ridges |
Modern landscapes |
Soil, gravel, black mulch |
10-14 inches |
| Pyramid |
Triangular with ascending layers |
Focal points, herb gardens |
Soil, sand, cedar chips |
20-30 inches |
| Teardrop |
Pointed oval |
Small spaces, containers |
Soil, coconut coir, pebbles |
10-12 inches |
| Zigzag |
Angled ridges |
Geometric gardens |
Soil, lava rock, black plastic |
12-16 inches |
| Rainbow Ridge |
Colorful layered strips |
K
How to build a mound garden bed with perfect drainage
If you're dealing with waterlogged soil or poor drainage, a mound garden bed is your solution. These elevated beds improve airflow, prevent root rot, and create stunning visual interest while keeping plants healthy. The key? A gentle slope and the right soil mix to ensure water flows away naturally.
Before you start, choose a sunny location with at least 6 hours of sunlight. Avoid low spots where water collects after rain. A mound bed works beautifully in clay-heavy soils or areas with standing water—just add the right amendments to transform them into thriving plant havens.
1
Mark Your Design
Use a garden hose or string to outline a 3-4 foot wide mound with a gentle slope (1-2 inches per foot). Aim for a height of 12-18 inches at the center for optimal drainage.
2
Remove Sod or Weeds
Clear the area of grass, weeds, and debris. For stubborn clay soil, add a 2-inch layer of cardboard to smother weeds naturally before building up.
3
Layer for Drainage
Add a 4-inch base layer of coarse gravel or broken bricks. Top with 6 inches of compost mixed with native soil to improve fertility while maintaining airflow.
4
Shape the Mound
Pile soil into a rounded mound with a slight peak. Use a rake to create a 1-2% slope (just enough to let water run off). For clay soil, mix in perlite or sand (20%) to break up compaction.
5
Add Mulch
Top with 2-3 inches of mulch (straw, wood chips, or pine needles) to retain moisture, suppress weeds, and regulate soil temperature. Avoid thick layers that can suffocate roots.
6
Plant Strategically
Place tall plants at the back (like lavender or ornamental grasses) and spreaders at the front (e.g., creeping thyme). For clay soil, choose drought-tolerant perennials like sedum or black-eyed Susan.
For extra drainage in waterlogged areas, consider adding a French drain along the base of your mound. Bury a perforated pipe surrounded by gravel to redirect excess water away from the bed. This works wonders in low-lying spots where moisture lingers.
Once your mound bed is built, monitor the soil moisture for the first few weeks. If the soil stays soggy, add more organic matter (like leaf mold or coconut coir) to improve structure.
With the right slope and amendments, your mound bed will keep plants happy and healthy all season long.
Pro tip: Use a soil moisture meter to check drainage before planting. Aim for soil that drains within 30 minutes after watering—this ensures roots stay aerated and disease-free.
★★★★★4.6(10 reviews)
|